Before you begin
- Sync every notebook to the reMarkable cloud, or copy files off through the USB web interface at
http://10.11.99.1. - Charge the tablet to at least 30%.
- Have your Wi-Fi and reMarkable account details ready for first-time setup.
- Set aside about ten minutes.
Developer mode is reversible through reMarkable's recovery tool. It does not unlock the signed bootloader or disable disk encryption.
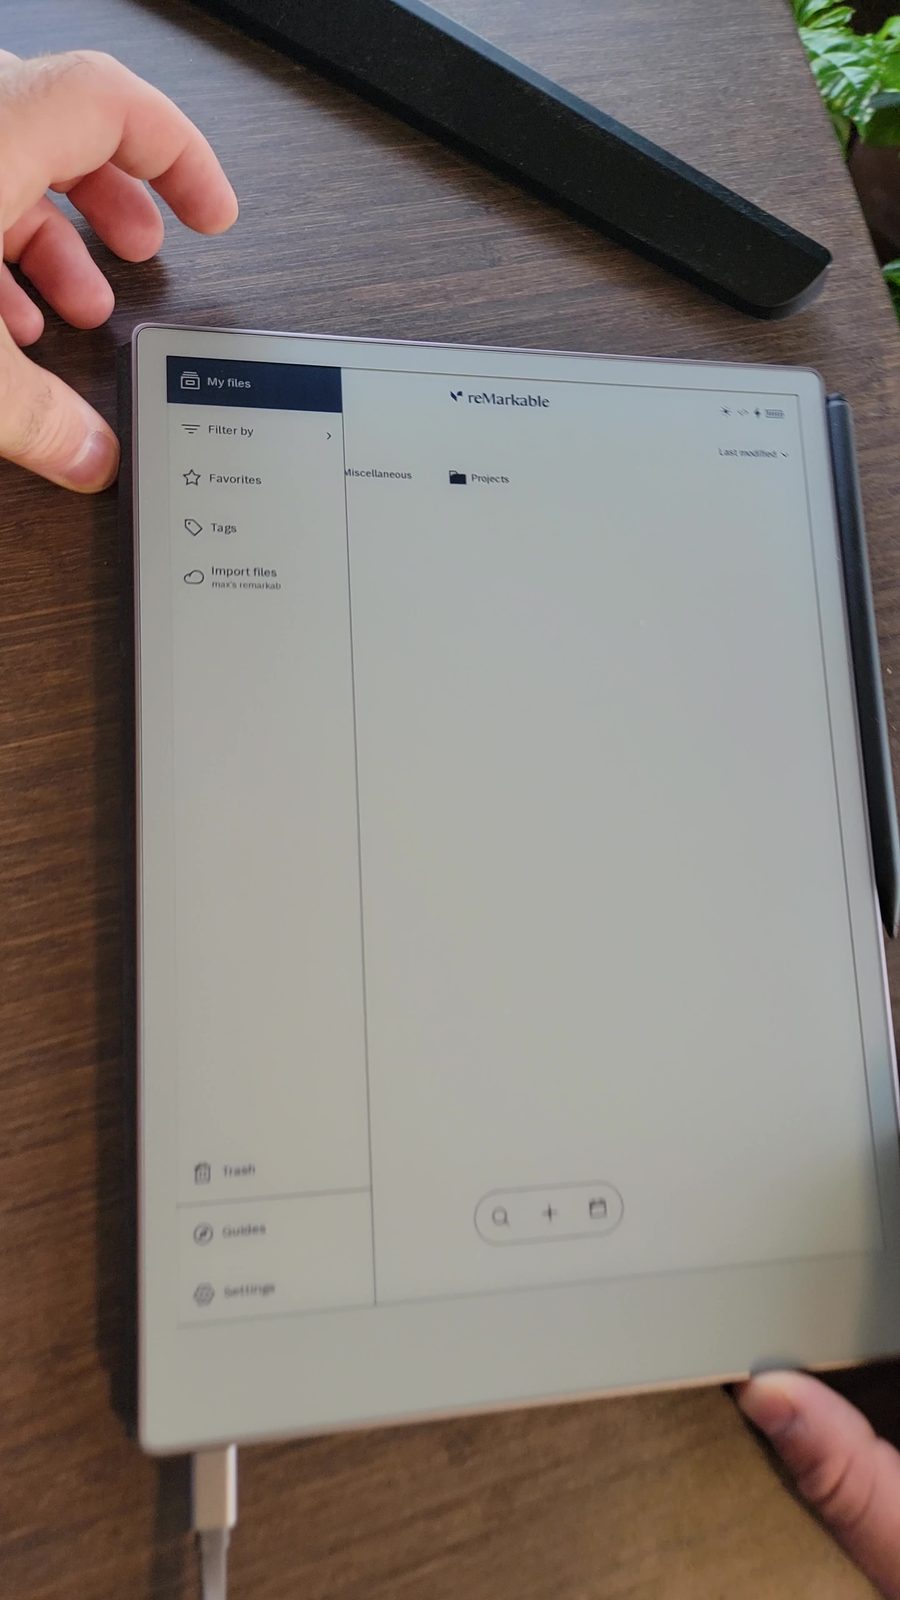
Open Settings
From the home screen, tap your account icon in the top-left, then tap the gear for Settings.
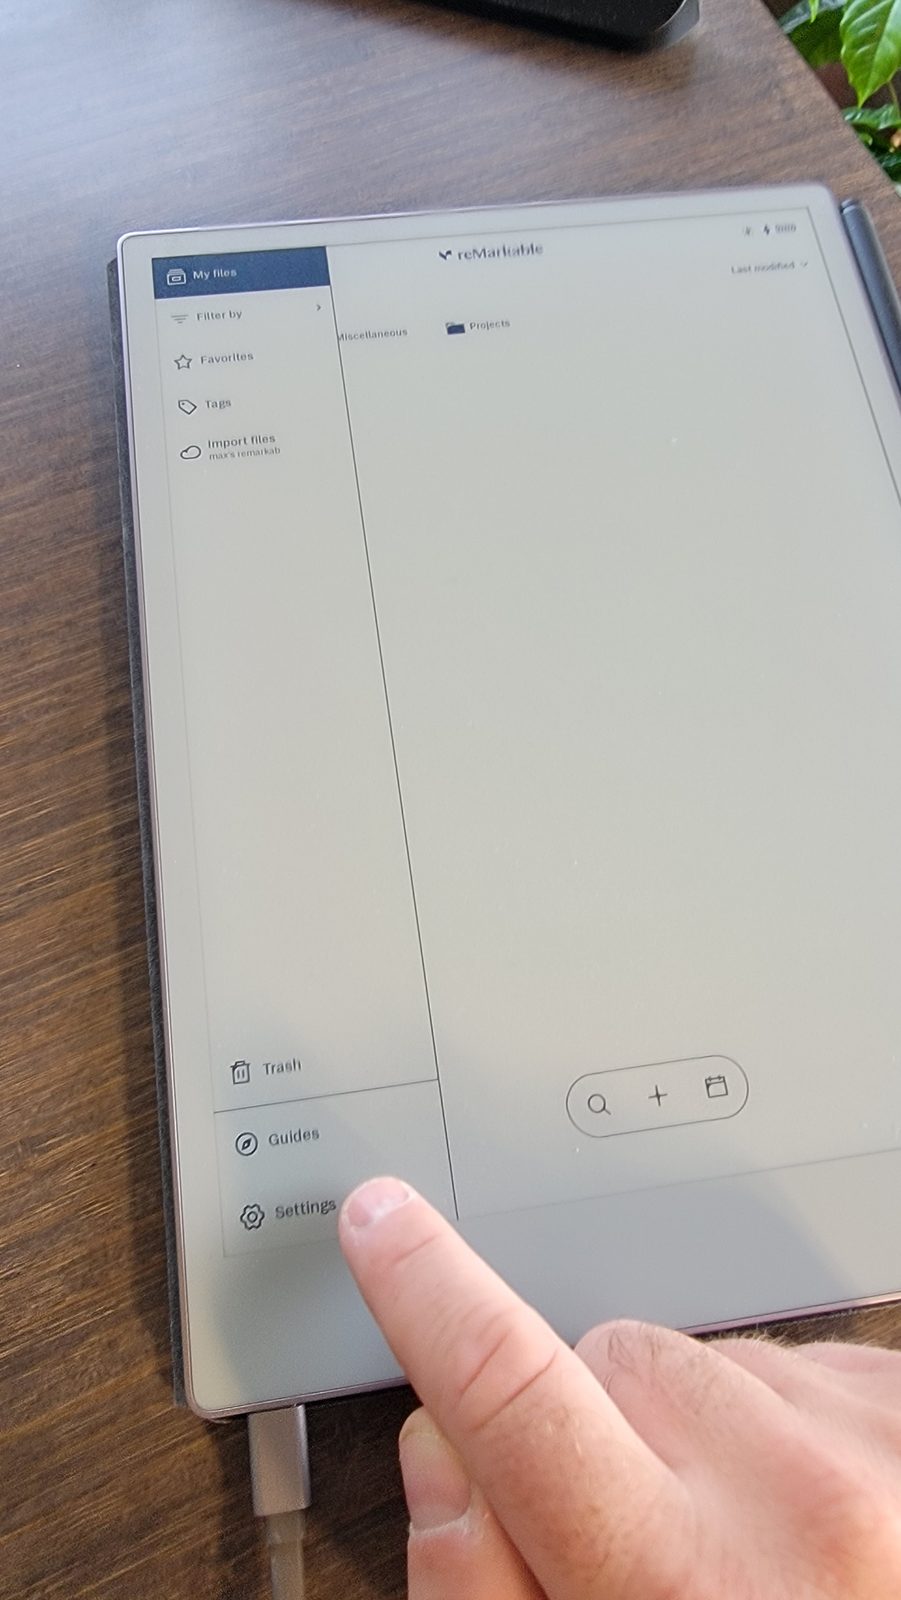
Open General → Software
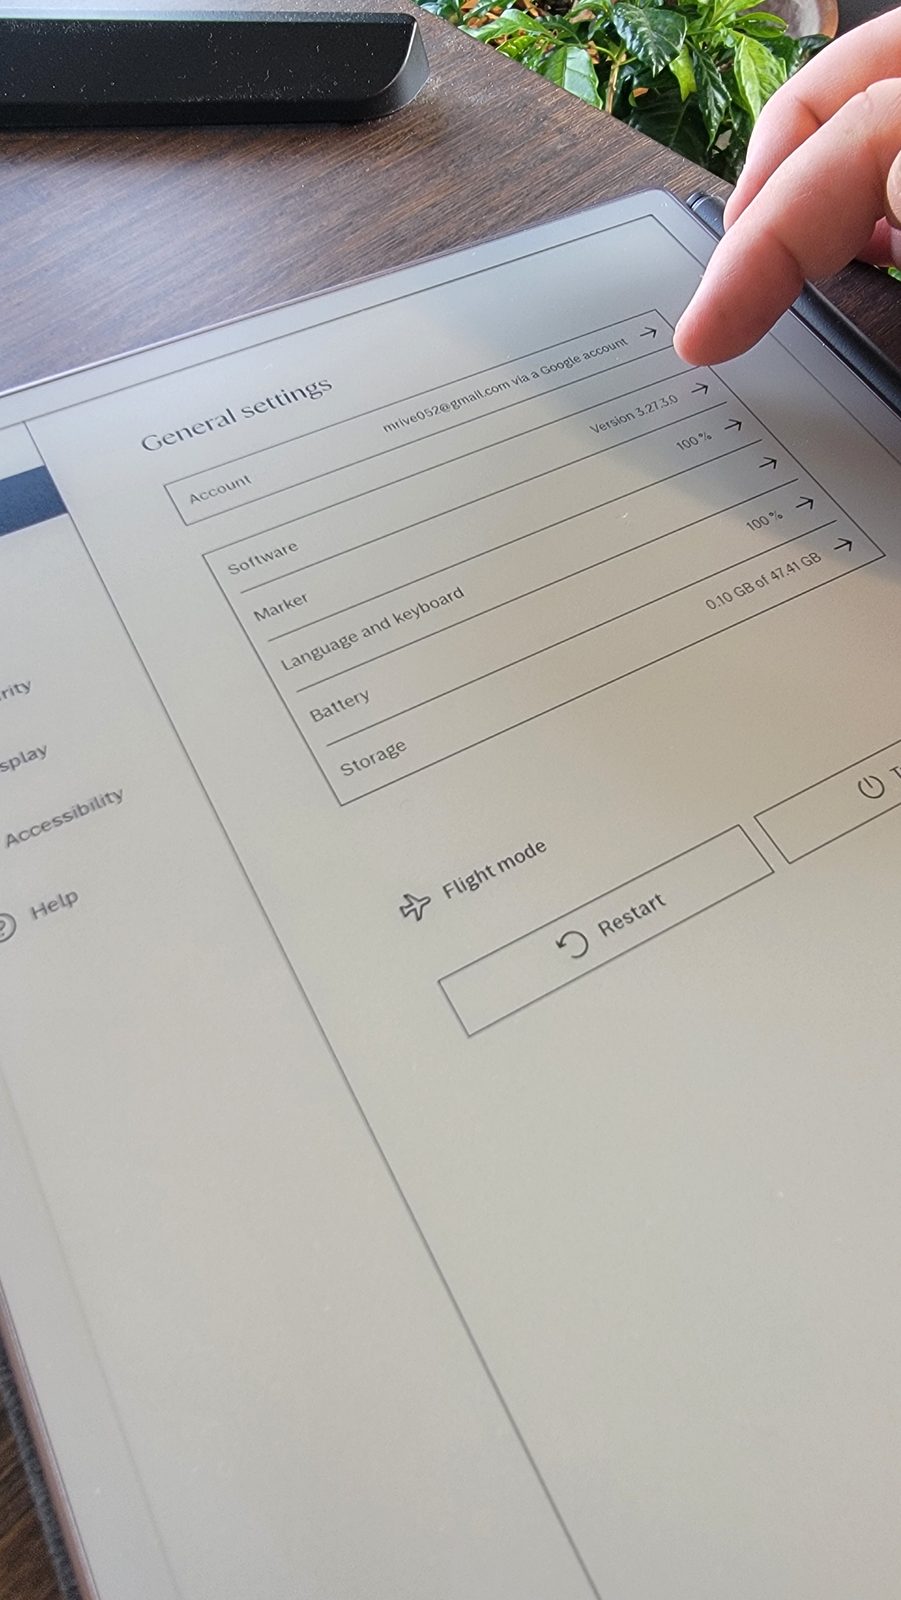
In Settings, choose General, then open Software. The exact labels can shift slightly between OS versions.
Full path: Settings → General → Paper Tablet → Software → Advanced → Developer Mode.
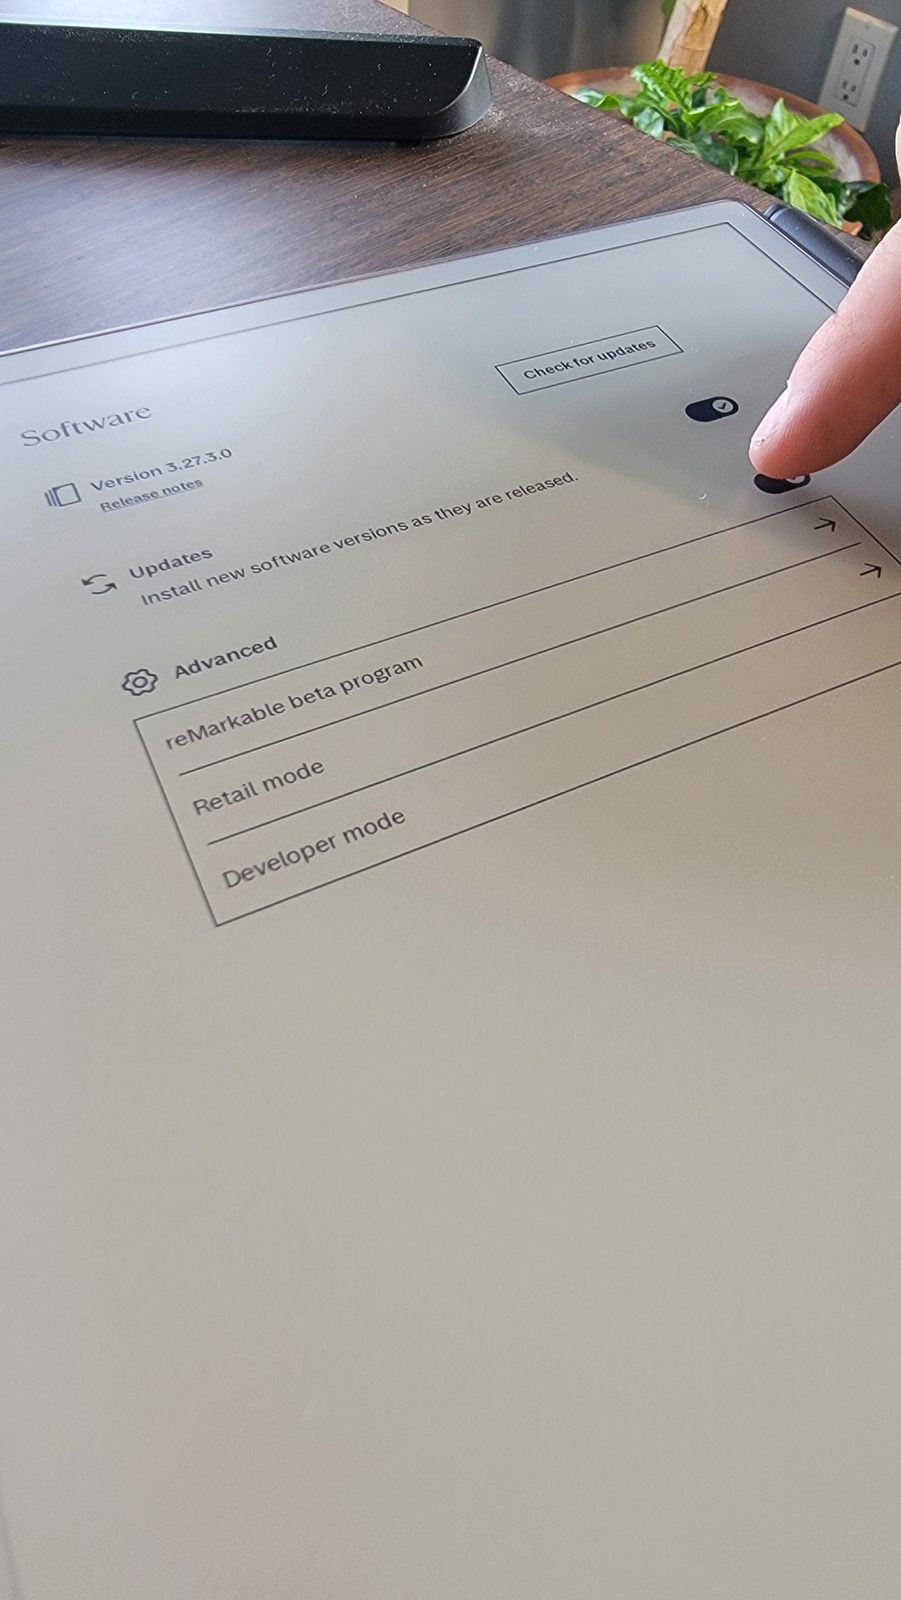
Choose Developer mode
Expand the Advanced section on the Software screen, then tap Developer mode.
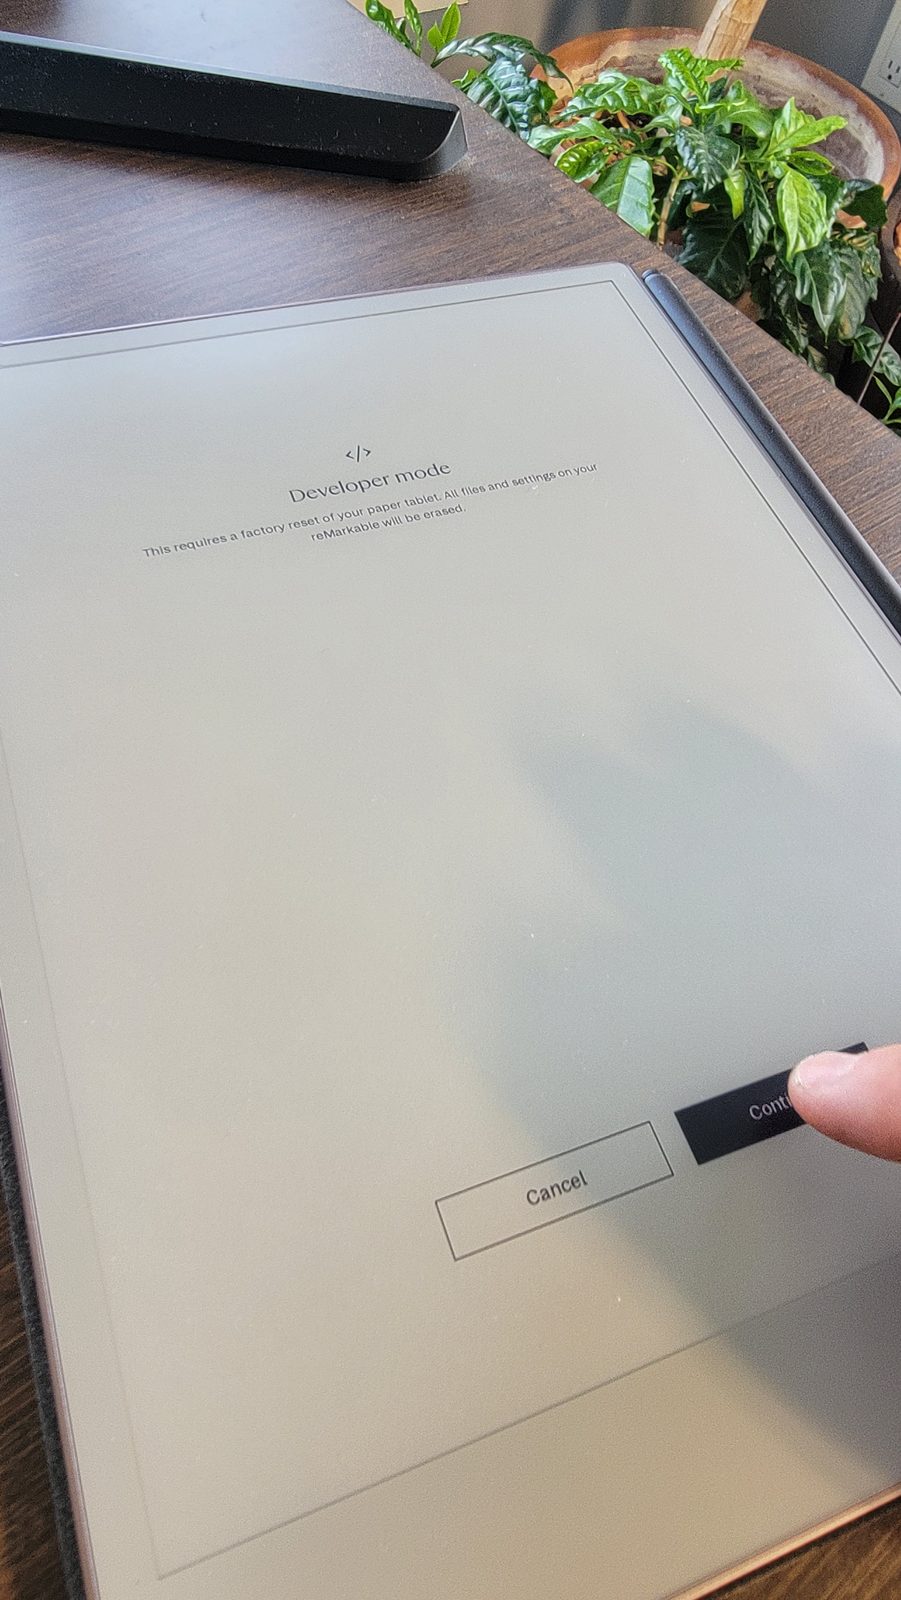
Read the warning, then Enable
Tap Enable. reMarkable explains that the device will factory-reset and will show a developer-mode notice on every boot.
Press the power button twice
Confirm by pressing the physical power button twice as instructed. The tablet erases its local data and restarts in developer mode.
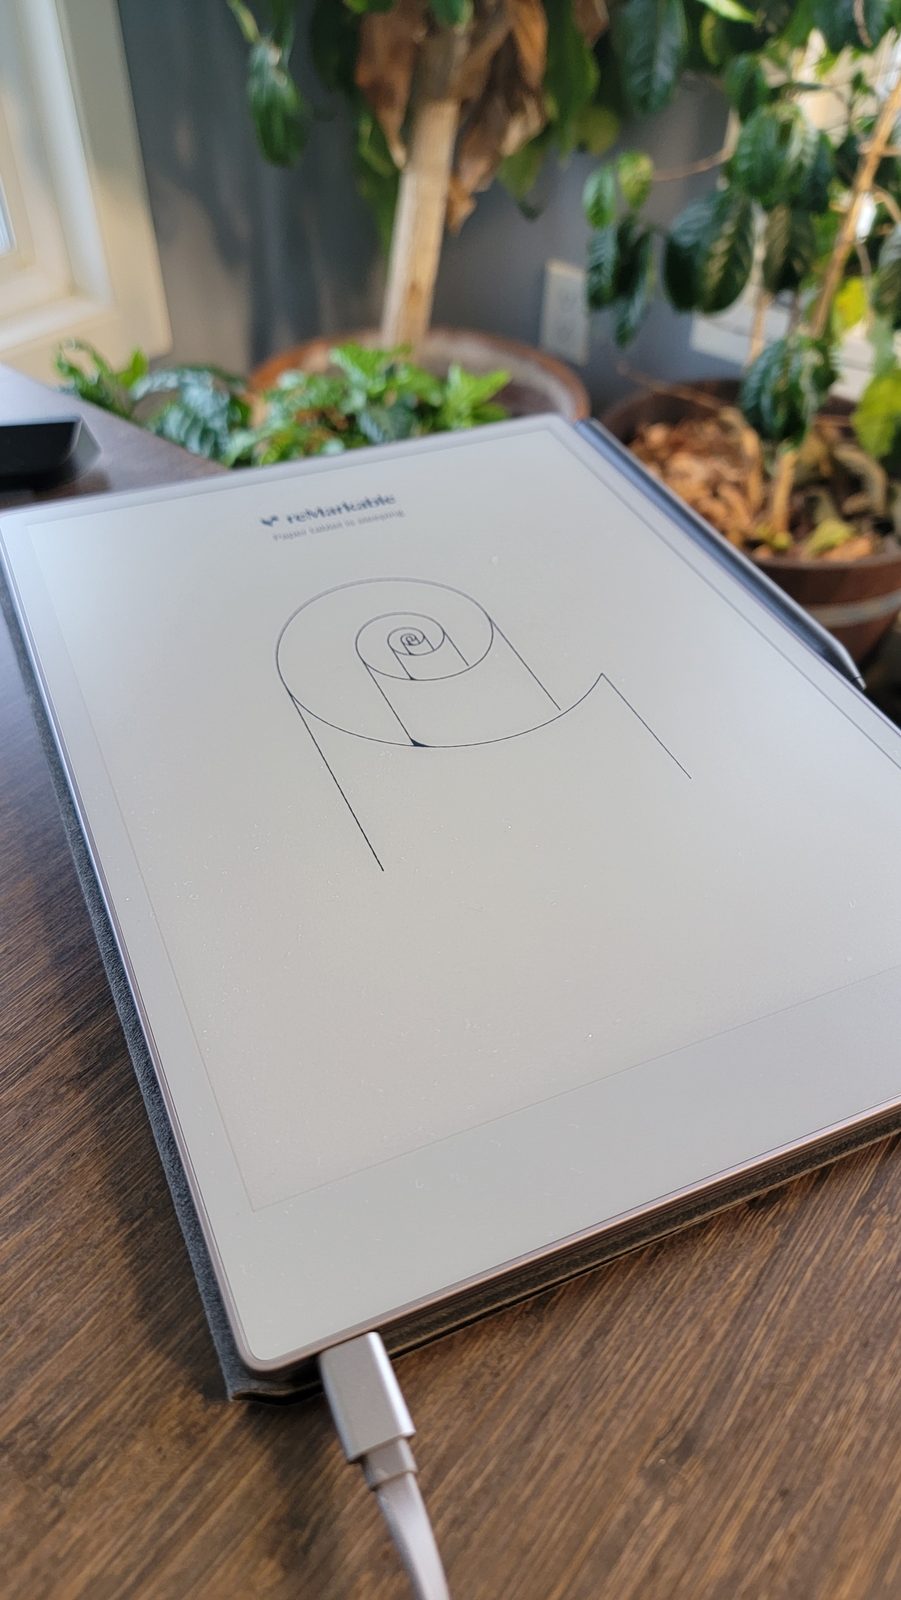
Complete first-time setup
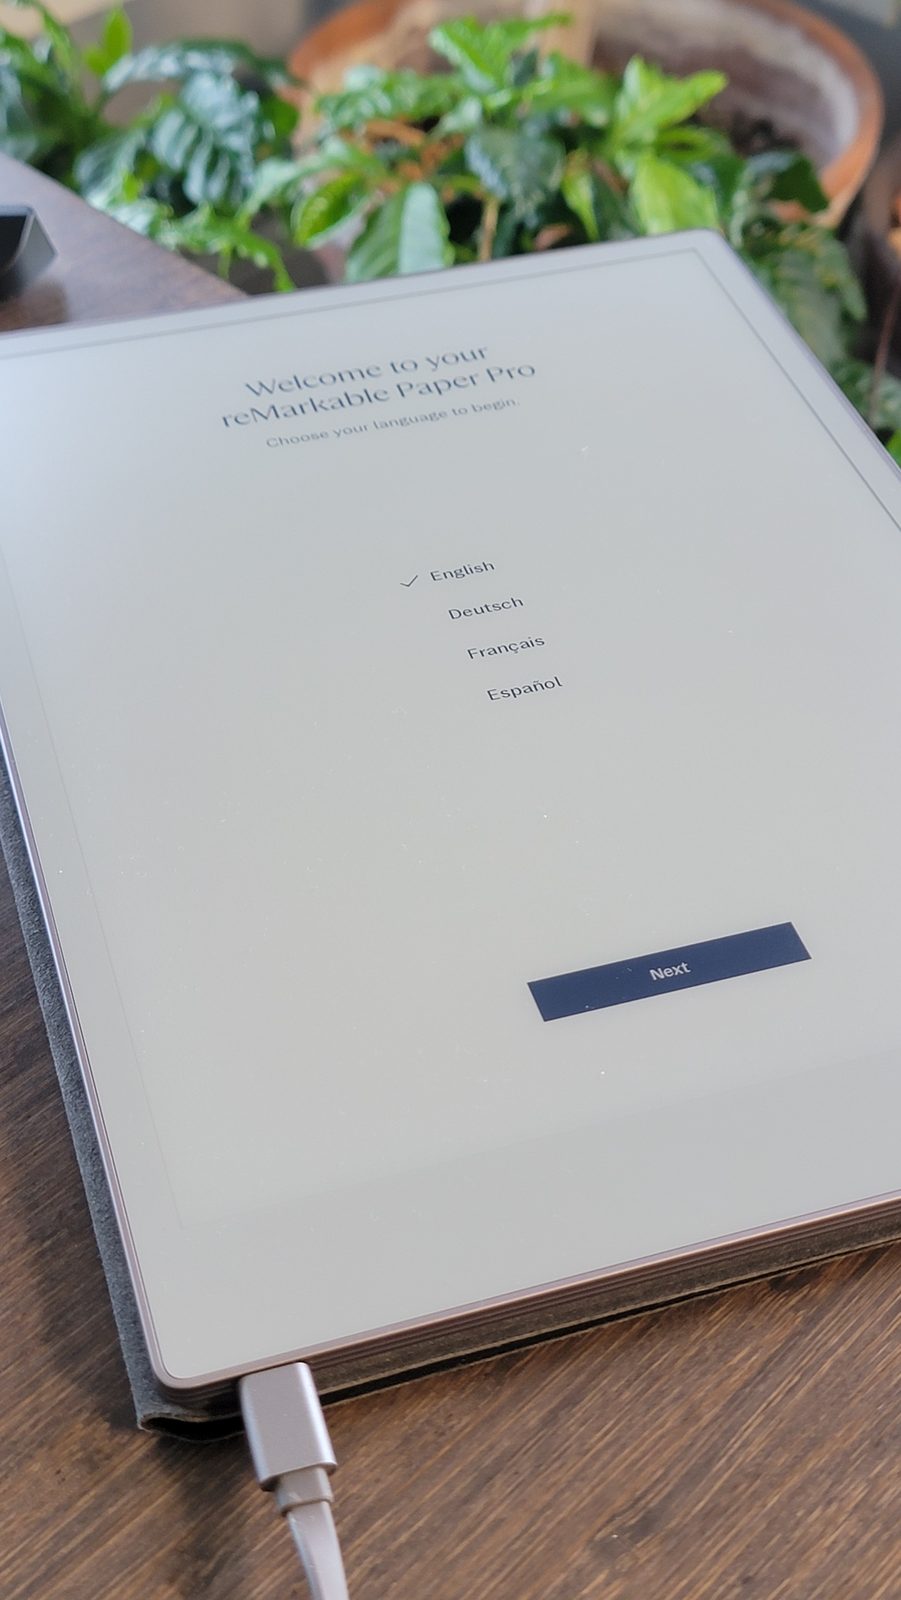
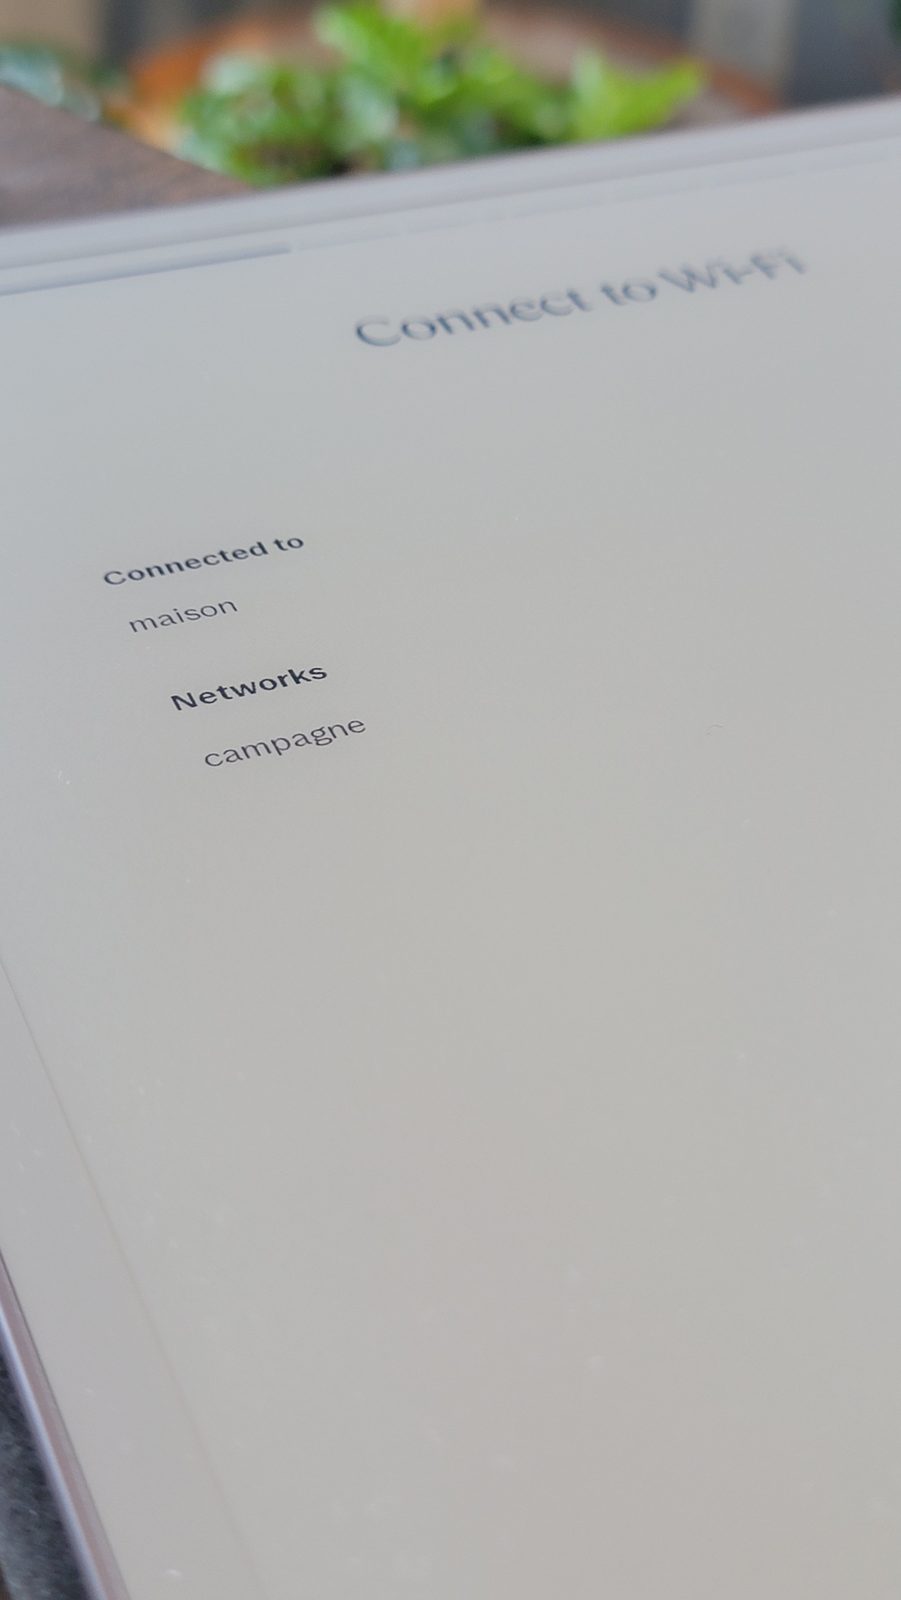
Choose your language, connect to Wi-Fi, and optionally pair your reMarkable account so cloud notebooks download again.
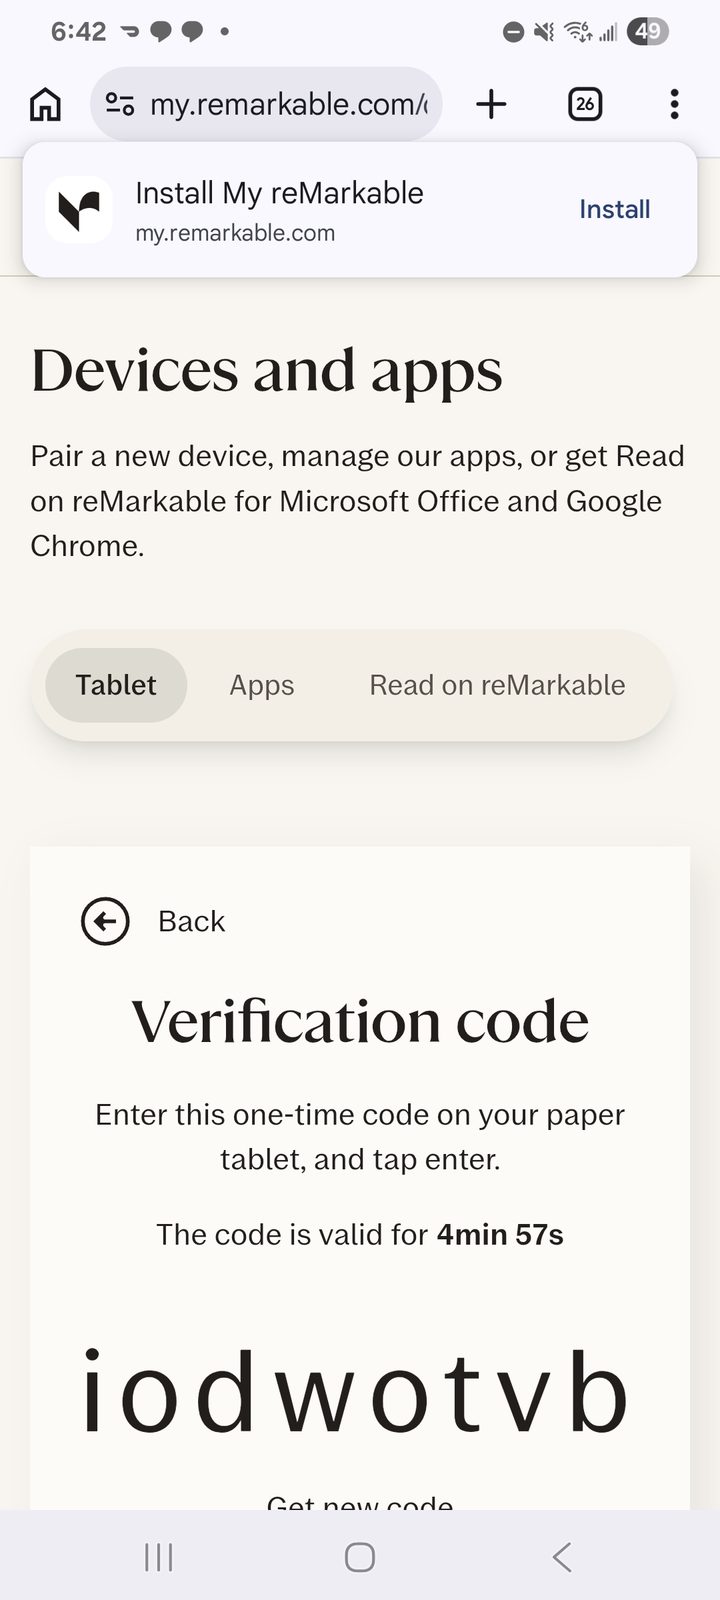
If you pair an account, enter the code shown on the tablet at my.remarkable.com.
When onboarding finishes, the normal home screen returns. The boot notice is the only obvious visual difference.
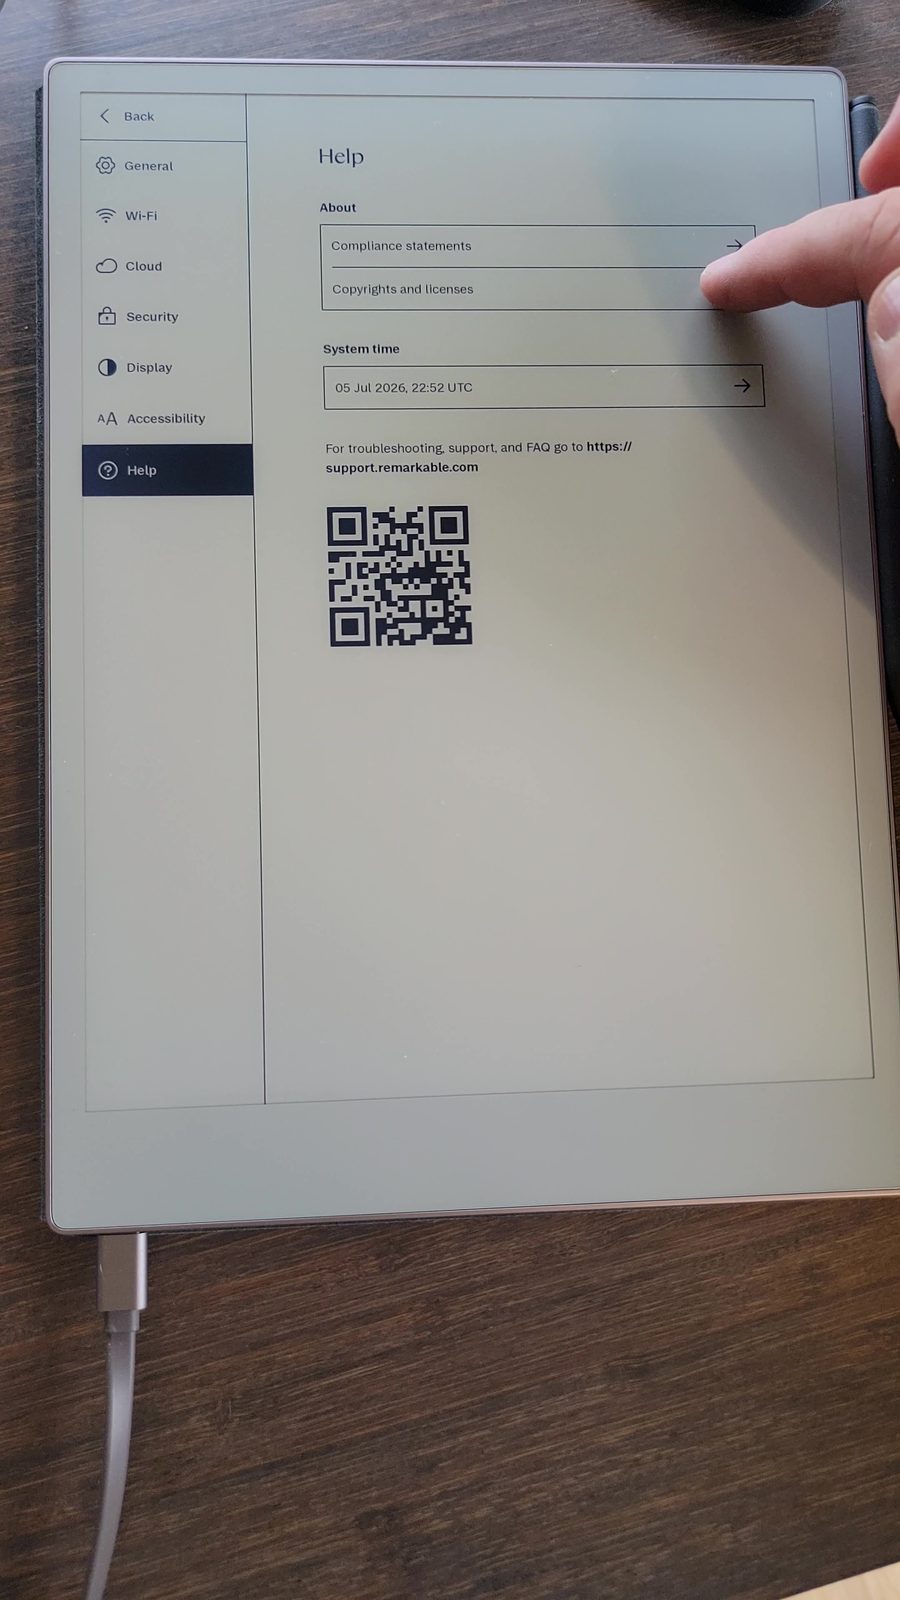
Find your SSH password
Open Settings → Help → Copyrights and licenses. Scroll to the GPLv3 Compliance / SSH section. It shows a one-time root password and root@10.11.99.1.
Keep this screen open. The remagic installer uses the password once, then installs an SSH key so you do not need to type it again.
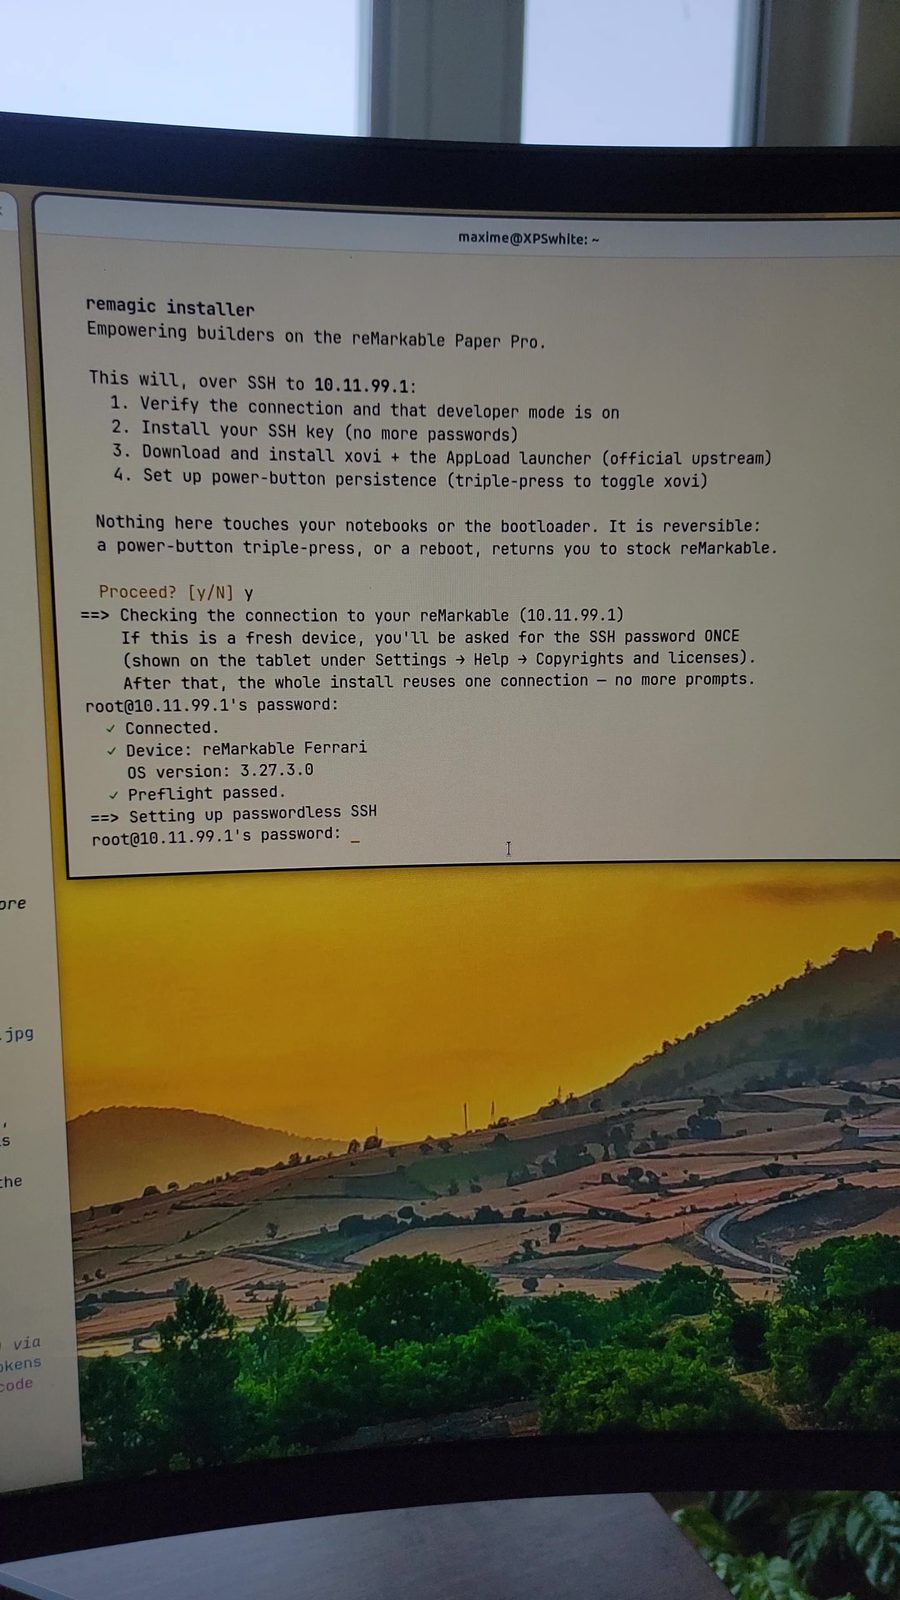
Plug in and install remagic
Connect the tablet to your computer with a USB-C data cable. It appears as a USB network device at 10.11.99.1.
You can test it manually with:
ssh root@10.11.99.1
What stays protected?
- Disk encryption remains on. Your data stays encrypted at rest.
- The bootloader remains signed. remagic does not replace early boot code.
- The boot notice remains. It is part of reMarkable's secure design.
Leaving developer mode
Use reMarkable's official recovery application to return to a clean stock device. Both reset and restore disable developer mode. See reMarkable's recovery documentation.